I used to buy planner refills every January to use in the fancy schmancy Franklin Covey planner. which I bought while in college. Sometimes the January budget was too pinched and I couldn’t afford to pay out the $$ for that. Then I found out from my friend Becky that I could make my own planner pages like she did, by printing her templates that she shared with me, then gluing the month pages on cardstock.
Then I started journaling every day when I came into the Eternal Warriors program. I discovered that I liked using notebooks from Ross Dress for Less that had stiff covers and coil binding. The covers were always pretty and the price was less than $4 a book. I would go through about 1 a month. I used these journals as planners as well. I love the coil binding because 1) that allows me to turn a cover over and have the notebook life flat, and 2) I can clip my pen onto the coil, and it stays put, because otherwise I lose my pen. I still use this method. Every week I make “week at a glance” pages by drawing six columns, for the days of Monday to Saturday, with the dates at the top, to make this notebook a combination planner and journal. I use this notebook to take notes at any meetings or conferences I attend as well.
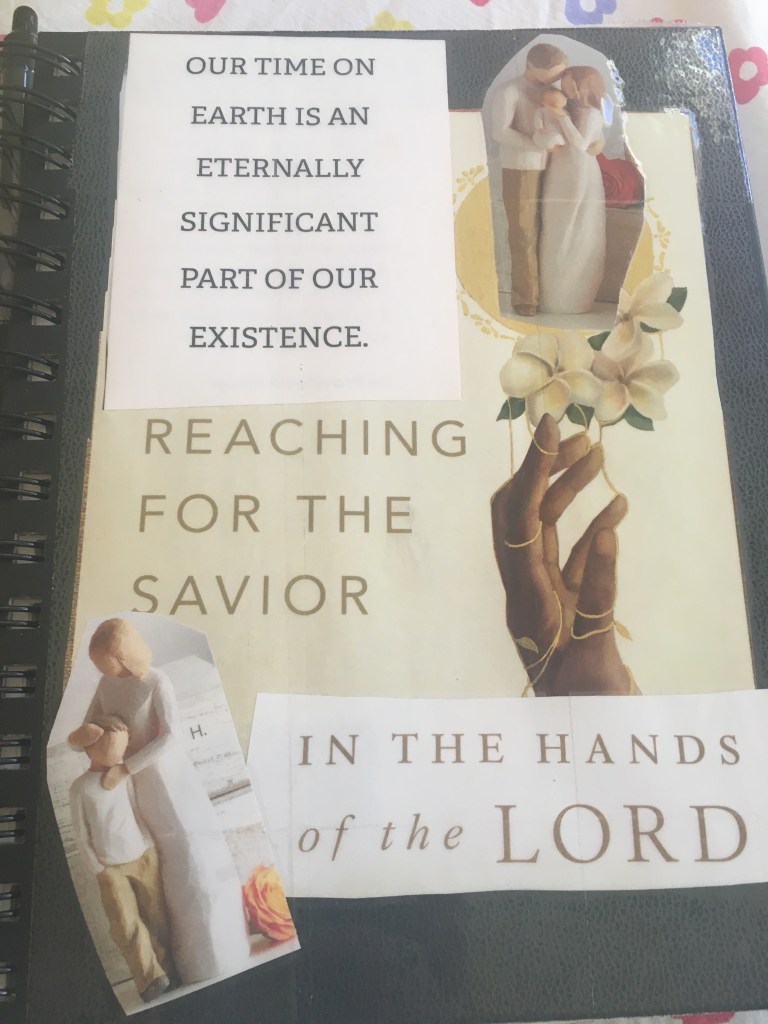
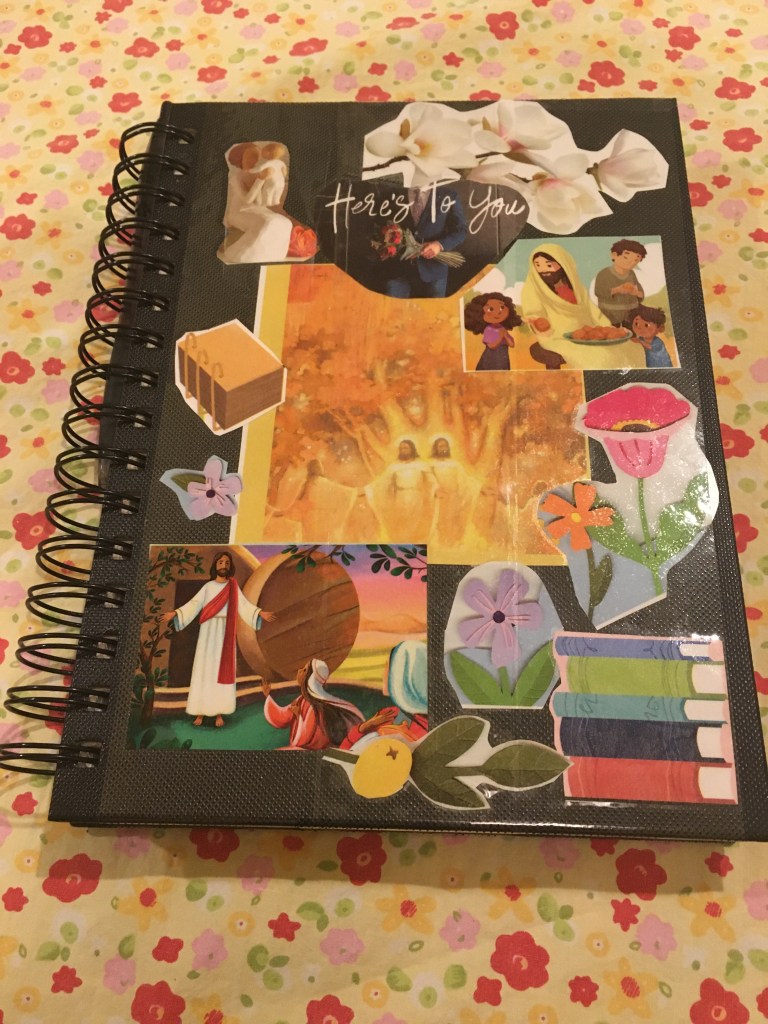
Then Ross stopped stocking those pretty notebooks, I suppose because of the current supply-chain issues. After three months of having to settle for blank sketchbooks I realized these generic books were actually better for me. I realized it was OK to write on blank pages without lines. I like customizing the covers with beautiful images and text that I cut out from Deseret Book catalogs, and magazines published by The Church of Jesus Christ of Latter-day Saints. I make some pages into scheduling pages, some pages where I write down inspiration as I pray, and some pages where I write my journal pages and my letters to God.

If you want to do the same, here’s how to do it:
- Buy a black-covered sketchbook from Walmart or Ross, with blank pages.
- Gather some old magazines and catalogs.
- Cut out images and text.
- Play around with the images by arranging them on the covers, both front and back, till you get what you really love.
- Use packing tape to seal the images to the covers, with enough length to wrap over to the other side of the cover. I even cut out poems too and tape those to the inside of the covers. Do it however you want!
- Every week (for me it’s on Sunday) use a two-page-spread to make six columns, three on each side, with the following headings: Mon, Tues, and Wed on the left-hand page, and Thur, Fri, and Sat on the right hand page. Put the date next to the day of the week. I make a different page for Sunday, with all its own stuff planned out. Draw a horizontal line under each date. Then draw a horizontal line that goes across the page and meets up with the fourth or fifth coil from the bottom. Then write headings of things you do every week. For me it’s: Computer/Email, Things to Blog About, People to Call/Text, Things to Buy, Errands/Projects, and then People to Pray for and Things to Talk About with DH. See image below.

Then fill all the columns in with your to-do list, with times written on the left-hand side of each column. I always add the dinner menu for each night, plus a Sunday dinner plan, squeezed in the bottom of Saturday’s column. Keep your planner handy and refer to it often! I use mine as my compass. It’s amazing what you do when it’s written down and looked at often!


